TEMPORARILY FIX A WATER LEAK

Have you just discovered a water leak in your home?
Do not panic ! Depending on the severity of the leak, first shut off the main water supply to your home, then call a plumber to come fix the leak .
You can also temporarily repair this leak while waiting for the intervention of a plumbing professional, if ever your repair is not sufficient.
How to Fix a Water Leak in 11 Steps
1 – Cut off the general water supply
First step: start by cutting off the general water supply to your home in order to stop the flow of the water leak.
If your water leak is on a buried or built-in pipe, only the plumber, with his own tools, will be able to search for the leak .
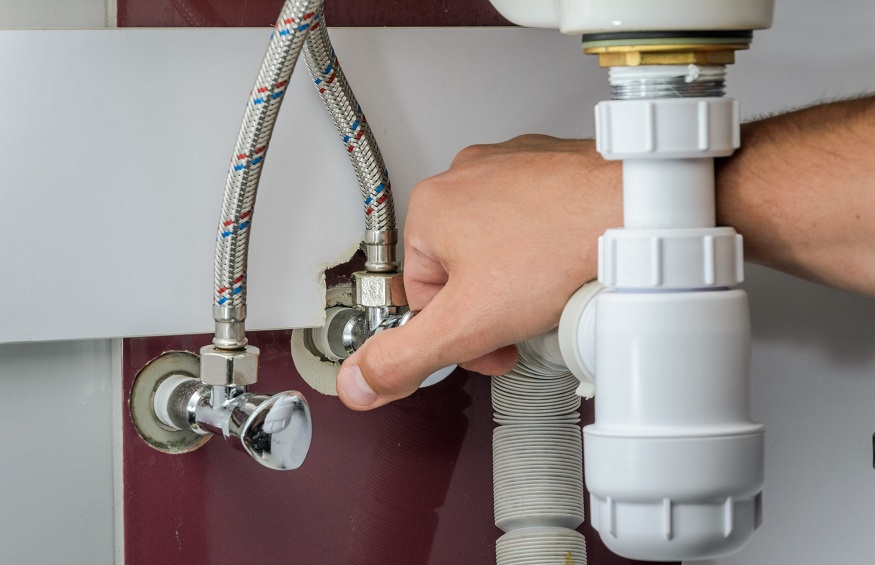
2 – Repair a water leak on the connection: tighten with two spanners
If the water leak to be repaired comes from a connection between two pipes, take two suitable adjustable wrenches: one that will be used to keep the male connection stable, and the other that you will use to tighten the female connection. .
Be careful not to use only one wrench to tighten the connection: you risk twisting the piping and worsening the water leak.
If, after tightening, you still notice a water leak at the fitting, there is no need to change everything: just change the seal.
3 – Repair a water leak on a pipe: use an anti-leak strip
In the event of a leak on a pipe, there can be several origins:
a crack,
a small weld may have failed.
In this case, do not hesitate to use anti-leak tape, which will allow you in a simple and effective way to temporarily repair your water leak.
4 – Purge the water circuit of your home
Look for the drain valve on the water circuit in your home and turn it on so that you can repair your water leak safely.
The presence of water in the circuit would not allow you to carry out a truly effective repair.
5 – Use a pair of plastic gloves
A leak tape is a one-time use tape of chemical resin that you use to temporarily seal the leak . Read the instructions on the packaging before starting to repair your water leak. The package also contains a pair of gloves: put them on, they are essential.
water leak repair
6 – Clean and dry the section of pipe to be repaired
In order for you to be able to repair a water leak effectively, it is important that the pipe is completely clean and dry.
If the pipe on which your water leak is located is painted, scrape it over 10 cm in length and clean it with a non-greasy product such as, for example, methylated spirit.
Our tip: use your hair dryer for a few minutes on the source of your water leak to make sure it is completely dry!
7 – Soak the anti-leak strip in water following the instructions in the manual
Open the packaging of the anti-leak strip, put on the included pair of gloves, and immerse the strip in water, scrupulously respecting the time indicated on the instructions for use.
8 – Place the tape around the leak
Quickly apply the Leak Strip to the crack causing your water leak.
Stretch it all around the pipe to seal the leak as effectively as possible by covering the crack tightly.
9 – Let your repair dry according to the instructions on the packaging
You will find on the packaging of your anti-leak strip instructions concerning the recommended drying time before you can restart the water circuit of your home. Follow these instructions to the letter!
Otherwise, your repair may not last long enough before your plumber comes to fix your water leak permanently.
10 – Turn the water back on and check the repair of your water leak
Restart the water circuit by turning on the main water supply to your home.
Verify that your water leak has been repaired by making sure that water is no longer flowing where you made your repair.
10 – Seek advice from a plumber to permanently repair your water leak and change the section of pipe if necessary
This repair is temporary and cannot replace the intervention of a professional. It will allow you to wait calmly for your plumber to intervene. This one will be able to permanently repair your water leak by changing, if necessary, the section of damaged pipe.


