6 Steps to Repair Subfloor Water Damage
Subfloor water damage is a concern that no homeowner can afford to overlook. Addressing this issue promptly is essential to safeguard your property and ensure the structural integrity of your home. Understanding the repair process is crucial in effectively mitigating subfloor water damage and preventing further deterioration. This article will provide a concise overview of the critical steps in repairing subfloor water damage, equipping you with the knowledge needed to tackle this issue head-on.
First, recognizing the importance of addressing subfloor water damage cannot be overstated. Left unchecked, it can lead to many problems, including mold growth, weakened structural support, and costly repairs. Therefore, understanding the repair process is essential. The repair process consists of steps designed to identify, assess, and remediate the damage, ultimately restoring the subfloor to its optimal condition.
Step 1: Assessing the Extent of Damage
Identifying Signs of Subfloor Water Damage
To begin repairing subfloor water damage, it’s crucial first to identify the telltale signs of trouble. Inspect your subfloor for any warping, discoloration, or soft spots. These visual cues can often reveal the presence of water damage lurking beneath the surface. Also, watch for mold growth or a musty odor, as these are clear indicators of moisture problems.
Tools and Materials for Assessment
Equipping yourself with the right tools and materials is essential for a successful assessment. You’ll need a flashlight to thoroughly examine dark or hidden areas, a moisture meter to measure moisture levels accurately, and a pry bar to lift damaged sections for a closer look. Remember to use personal protective gear such as gloves and a mask to ensure your safety during the assessment.
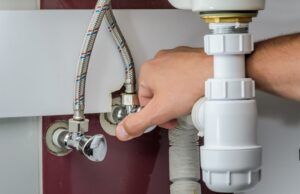
STEP 2: Preparing for Repairs
Safety Precautions and Gear
Begin by donning the appropriate protective gear, including gloves, safety goggles, and a dust mask. These items shield you from potential hazards and contaminants during repairs. Additionally, ensure the work area is well-ventilated to minimize exposure to harmful fumes. Before diving into the project, turn off the electricity supply to the affected area to prevent electrical accidents.
Gathering Necessary Supplies
Gather your supplies beforehand to streamline the process. You’ll need a few essential tools: a circular or reciprocating saw for cutting damaged subfloor sections, a pry bar for removing materials, and a tape measure to ensure precise cuts. Additionally, stock up on construction adhesive, subfloor screws, and replacement subfloor material. Remember a level to provide a flat and even surface once the repairs are complete.
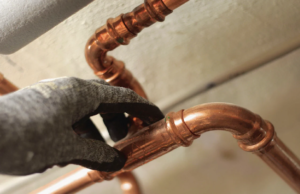
Step 3: Executing the Repair
Removing Damaged Flooring and Subflooring
When tackling subfloor water damage, the first order of business is to bid farewell to the compromised flooring and subflooring. Start by prudently removing damaged materials, whether soggy laminate, waterlogged wood, or weakened tile. This crucial step ensures that you get rid of the source of the issue, preventing further harm to your home’s foundation.
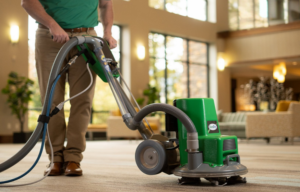
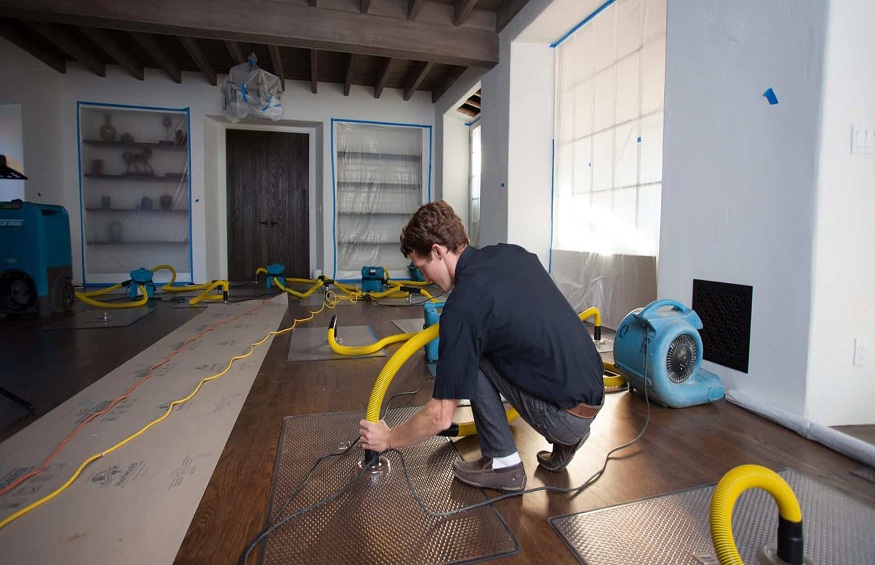
Drying and Treating Affected Areas
Once the damaged materials are out of the picture, it’s time to focus on drying and treating the affected areas. Utilize fans, dehumidifiers, or open windows to expedite drying. Swift action is vital here, as lingering moisture can grow mold. For good measure, treat the exposed subfloor with an antimicrobial solution to inhibit any potential mold or mildew.
Installing New Subfloor Materials
It’s time to rebuild with the damaged flooring and subflooring removed and the area thoroughly dried and treated. Installing new subfloor materials is the linchpin of this operation. Choose sturdy, water-resistant materials that will stand up to future challenges. Orient strand board (OSB) or plywood are often solid choices. Secure them diligently, ensuring a sturdy and level foundation for your new flooring.
STEP 4: Finishing Touches and Prevention
Reinstalling Flooring Materials
Carefully replace any damaged or removed sections, ensuring a snug fit. Smooth transitions between new and existing materials and secure them correctly to prevent future issues. This step ensures your floor looks good and maintains its structural integrity.
Waterproofing Measures for the Future
Seal gaps and joints in the subfloor to prevent water intrusion. Installing a moisture barrier beneath your flooring can act as a protective shield. Additionally, choose water-resistant or waterproof flooring materials for added durability.
Step 5: Quality Assurance Inspection
Inspecting the Repaired Subfloor
Thoroughly examining the repaired subfloor ensures its durability and reliability. Look for any signs of residual water damage or structural weaknesses. Pay close attention to seams, joints, and the integrity of the subfloor materials to prevent future issues.
Ventilation and Moisture Levels
Proper ventilation and moisture control are essential for a lasting subfloor repair. Adequate airflow and moisture management help prevent mold and mildew growth, preserving your subfloor’s integrity. Ensure humidity levels remain within the recommended range to safeguard against further damage.
Step 6: Monitoring and Long-Term Maintenance
Ongoing Monitoring Practices
Consistent monitoring is vital to preserving your subfloor’s condition. Regularly check for any signs of moisture intrusion, leaks, or structural shifts. Monitoring allows for early detection and swift intervention, mitigating potential problems.
Scheduled Inspections and Preventive Actions
Scheduled inspections and proactive maintenance help extend the life of your repaired subfloor. Plan routine check-ups and perform preventive actions, such as resealing seams or reinforcing weakened areas. A proactive approach ensures your subfloor stays in optimal shape for years.
In summary, addressing subfloor water damage is not just a matter of property aesthetics but a crucial step in ensuring the long-term structural integrity of your home. Ignoring the signs can lead to more extensive and costly problems, including mold growth and weakened foundations. Homeowners can effectively mitigate the damage, prevent future issues, and maintain a safe and secure living environment by following the six steps, from initial assessment to ongoing maintenance. Remember, proactive intervention and attention to detail are the keys to a successful subfloor repair, protecting your investment and ensuring peace of mind for years.
Publisher’s Details:
Save the Day Restoration
2424 Gundry Ave, Signal Hill, CA 90755
(866) 352-4603
savethedayrestoration.com
[email protected]
While dealing with subfloor water damage, it’s essential to comprehend the broader scope of water damage restoration. Read: Understanding Water Damage Restoration: What It Is And Why It Matters
For those needing top-notch water damage restoration services in Long Beach, CA, Save the Day Restoration stands out as a trusted choice. They are known for delivering the best services in the industry.